
The Raven Clay Thrower -- Set-Up, Operation and Break Down for Storage
The Fred-Rapp IWLA Chapter has installed a clay
pigeon
thrower replacing the worn and irrepairable White Wing model. The
new
model is the Raven model, and operation differs slightly from the
White Wing clay thrower. These
instructions are provided to
assist you with proper and safe operation for the thrower.
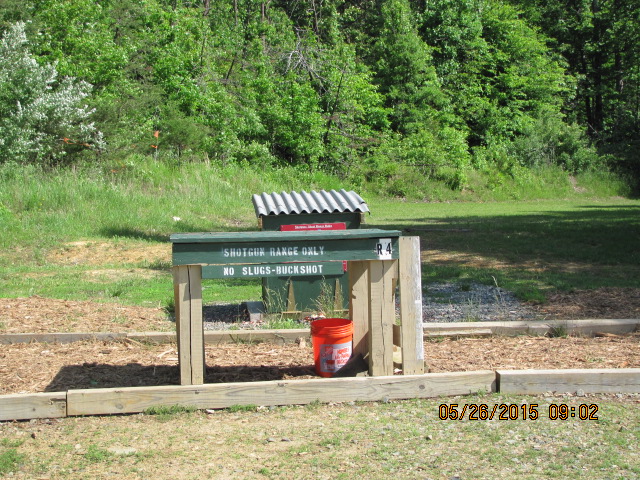
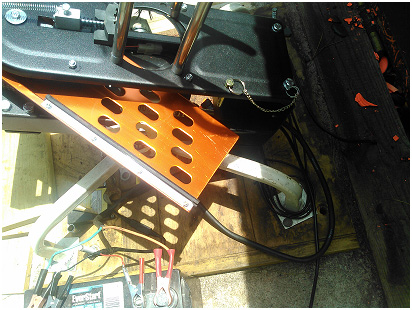
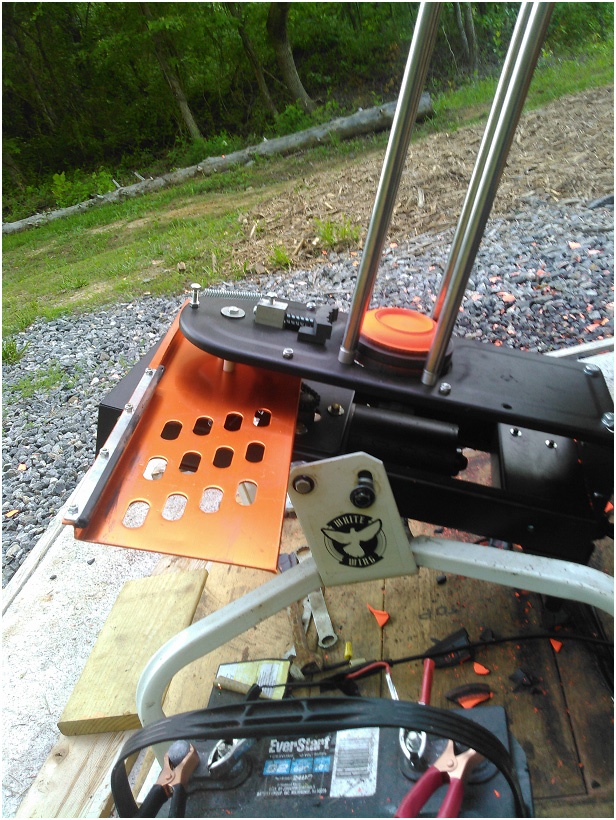
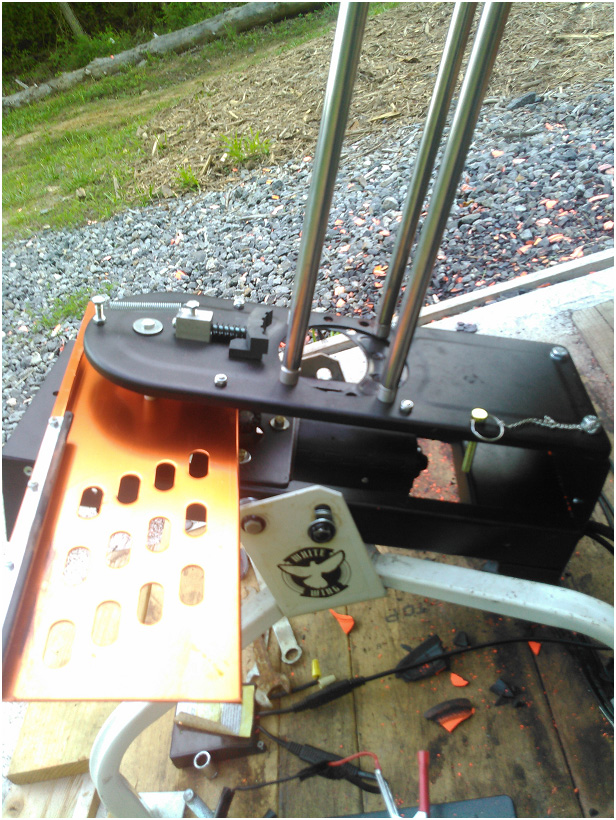
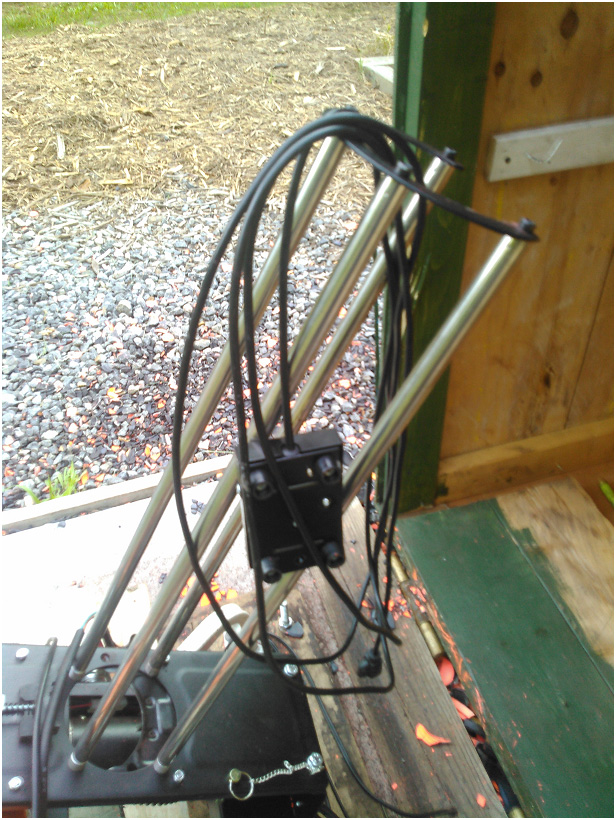
The Raven Clay Pigeon thrower with its
reference frame for Range 4 (the Shotgun Range)
Some characteristics of the Raven Clay Thrower (the thrower) that differ from the model previously used by the Chapter:
A. The thrower's feed mechanism will cycle down through a stack of clays and then hold the last clay. The rotary throwing mechanism will cycle but the last clay won’t drop and will not be thrown. This makes reloading very easy because you add the new stack to the top of the remaining clay.
B. The trajectory of the thrown clay target is not to the same exact spot each time. It will fly out in an arc that varies by about 10 to 15 degrees thus making shooting more of a challenge.
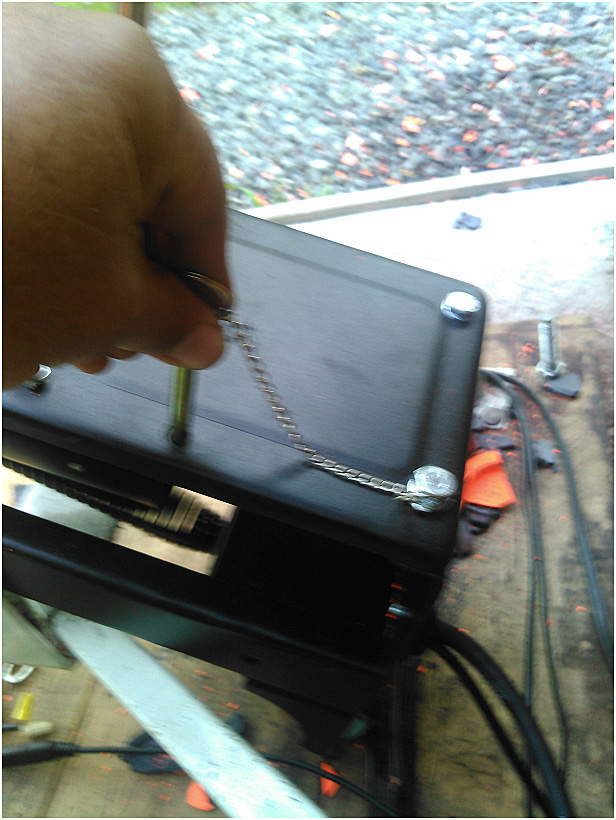
C. If you leave the safety pin in the thrower and turn the switch to the "on" position, the throwing arm will move to the pin then back off about an inch which will allow its easy removal. This is different from the previous thrower which would cycle to the safety pin very tightly with enough force to prevent you from removing it.
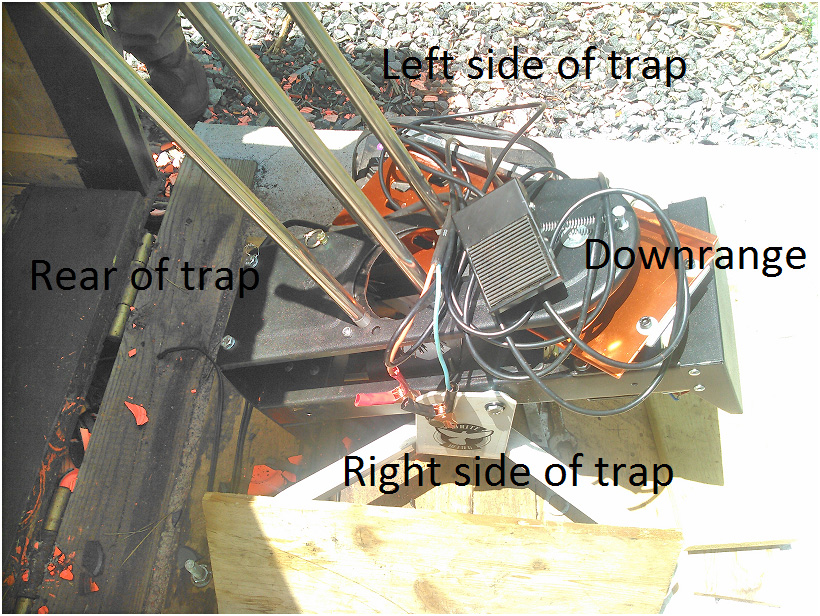
All three characteristics are improvements from the last model. Never work with the thrower from the right side (the side towards range 3).
For purposes of positioning the operator in the framework of the thrower -- down range is to the front of the thrower. Range 3 (the rifle range) is to the right of the thrower and the archery range is to the left of the thrower.
Here are the procedures for set-up, use and breaking down and returning the thrower to its storage condition:
Conduct
these actions, which require being in contact with the Raven thrower:
set-up, loading, unloading,
and break down ONLY from the left side (the Archery Range side) of the
thrower.
SET UP
1.
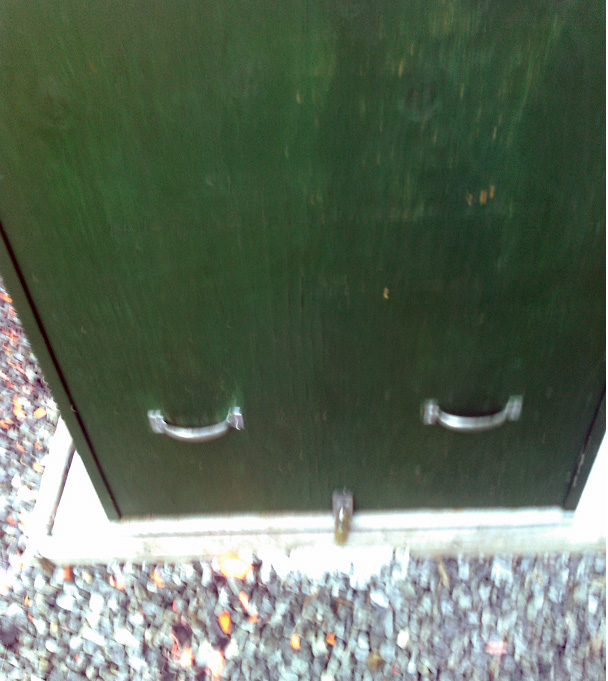
Unlock and open the house (the green
box enclosure or
storage
enclosure) by rocking it back on its hinges toward the access
road. Inspect the thrower before touching it. The previous
user should
have disconnected the power cable from the thrower and the throwing arm
should
be positioned pointing out to the left side (towards the archery range)
and the
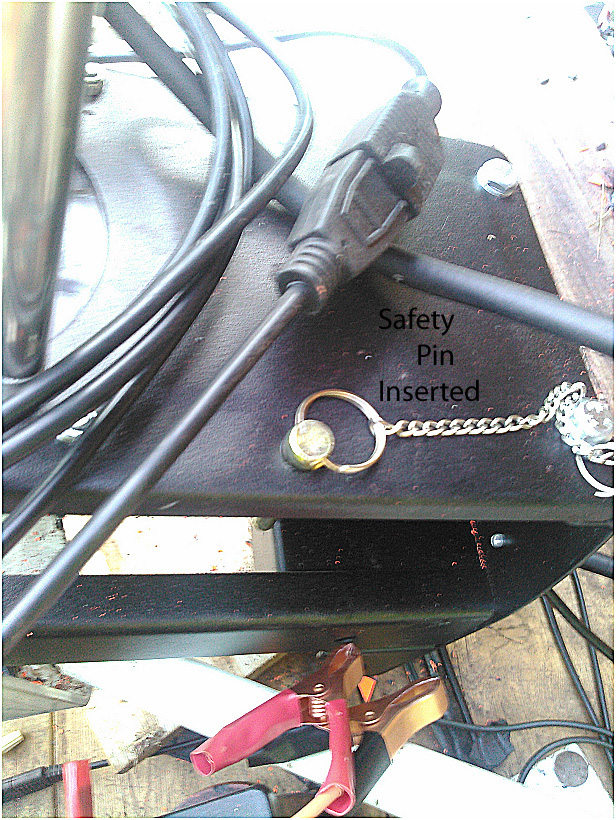
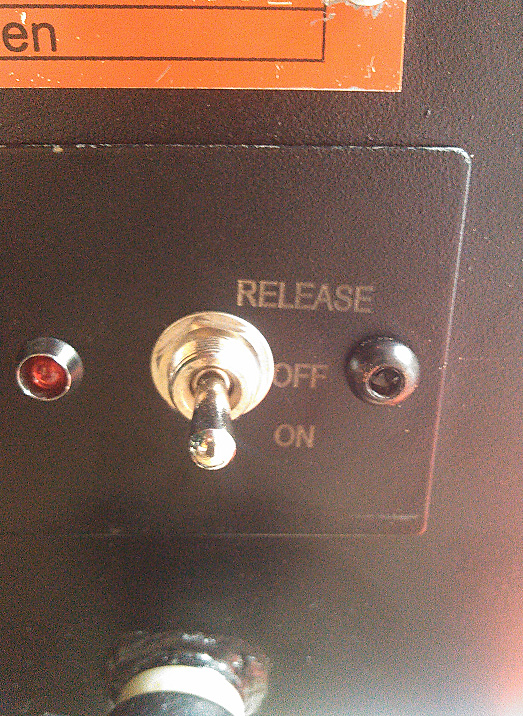
safety pin should be inserted. The toggle switch on the rear of the
thrower
should be in the “off” position. The
storage battery should be connected only to the solar cell battery
charging
device. If these conditions exist, then
proceed with caution.
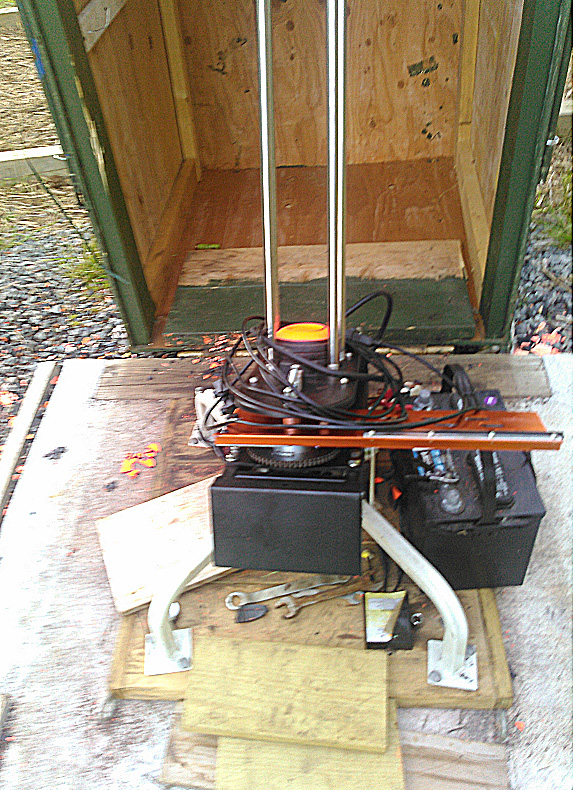
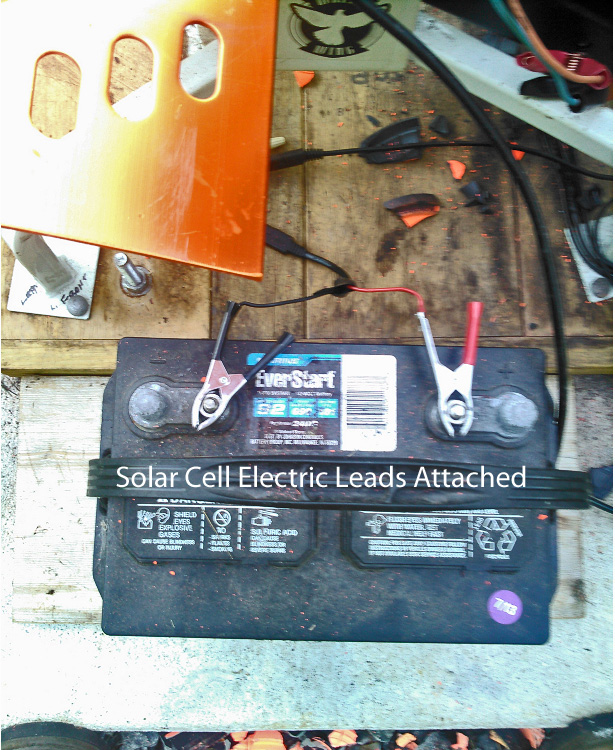
2.
Move the battery from the wood
platform, and rest it on a board on the concrete
base of
the storage box. Ensure the solar
charger cables remain attached at all times, even during operation.
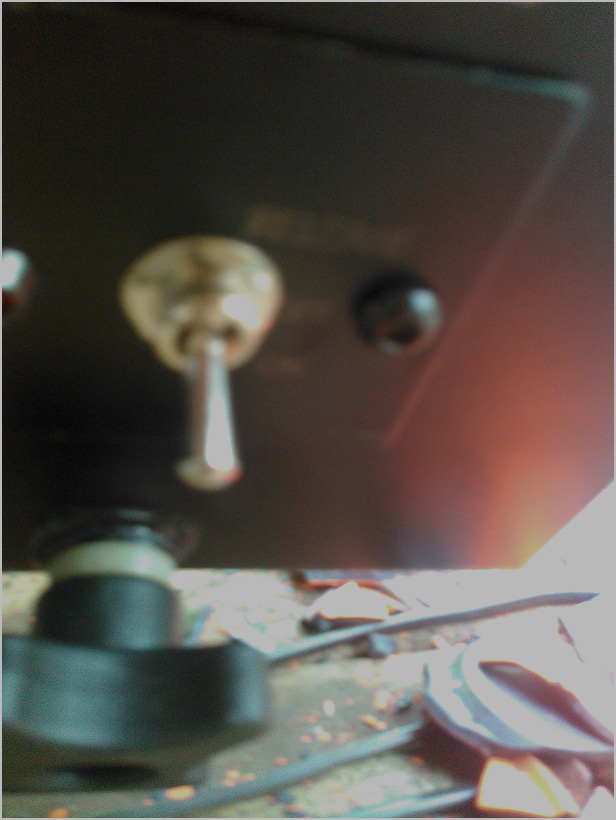
4. Make sure
the
toggle switch is in the center (the "OFF") position. The switch
should return to the center position on its own except when it
is placed in the "ON" position.
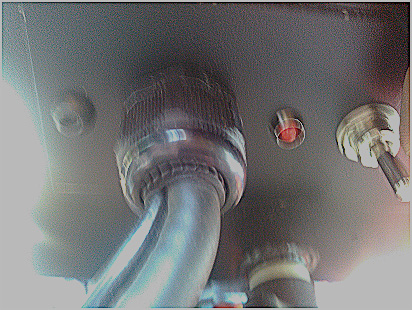
5.
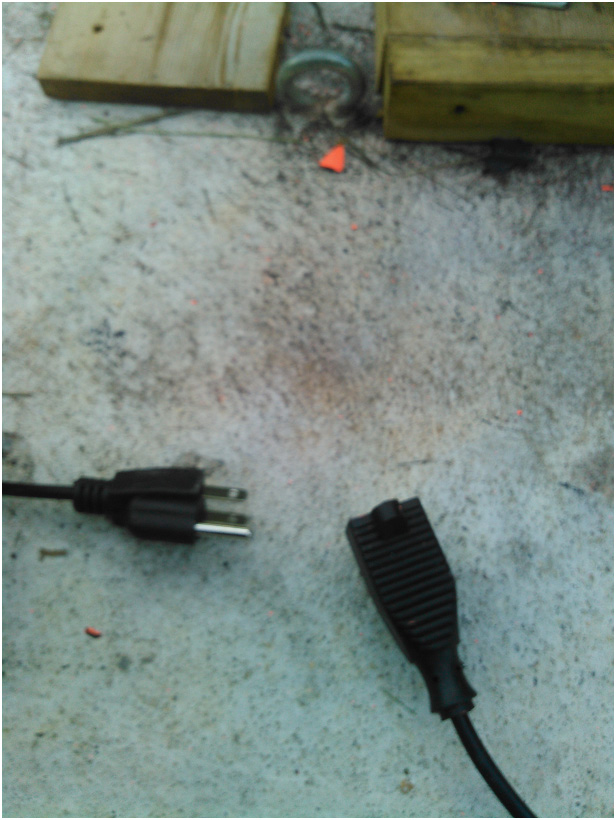
Extend the foot pedal cord and
place the foot
pedal switch either on the bench uprange from the storage enclosure to
allow
triggering the switch by hand if shooting with a partner, or place on a
piece
of wood on the ground if you’re shooting by yourself and triggering the
switch
by foot. If shooting by yourself,
place
the foot pedal a sufficient distance away from the operating arc of the
thrower. Connect the foot pedal cord to
its mating end at the thrower house.

WARNING: the following operations must be done standing to the left side of the thrower as a DANGER ZONE exists inside the arc of the throwing arm and in front of the thrower when loaded with clay pigeons.
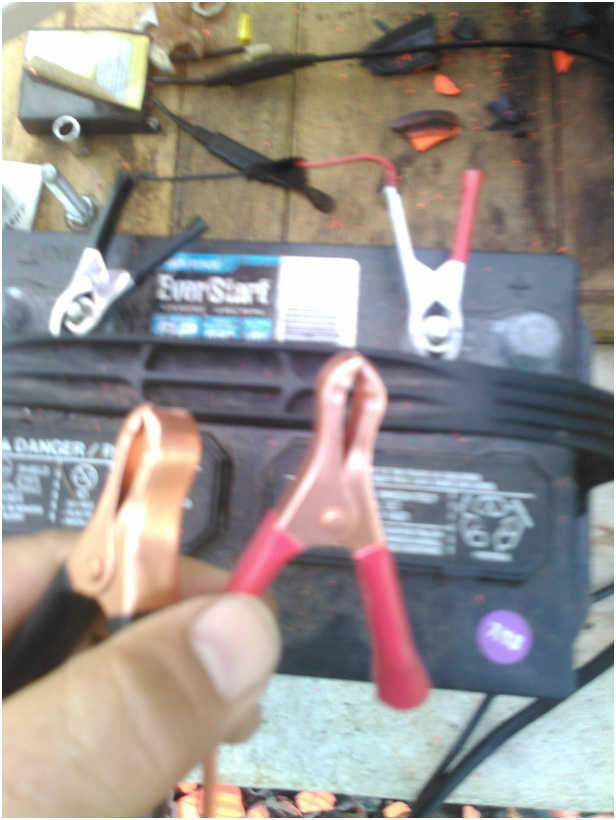
6.
Hook up the power cable from
the thrower to the
battery making sure the red connector is on the positive terminal and
the black
connector on the negative terminal.
9.
Turn the toggle switch to the
“ON” position by
moving it down in the direction of the concrete base.
WARNING:
AT THIS TIME THE THROWER IS LIVE AND YOU NEED TO
STAY AWAY FROM THE ARC OF THE DANGER ZONE. APPROACH THE
THROWER FROM THE LEFT SIDE ONLY.
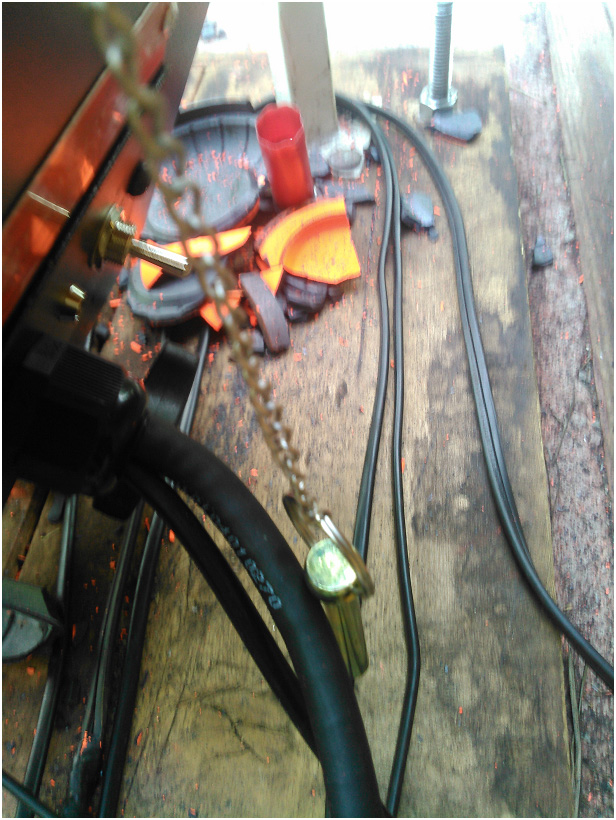
10. Operate by tapping the foot pedal switch, reloading the clays as needed.
Note: The mechanism will always stop with one clay remaining in the feeder.
ONCE READY TO FINISH SHOOTING
(with the one remaining clay or any number of clays remaining in
feeder) TURN THE TOGGLE SWITCH TO THE CENTER "OFF"
POSITION
BREAK DOWN THE THROWER FOR RETURNING TO STORAGE
WARNING:
THE FOLLOWING ACTION WILL allow the firing
of ONE
MORE CLAY from either a remaining stack or the last remaining clay!
1.
Ensure no one is standing in
front of the
thrower, and push toggle switch up to the “RELEASE” position.
Note: The switch will return to the off position on its own.
6.
Move the battery securely onto
the wood platform
close to the frame of the thrower (make sure the solar
charger cables remain attached in order for the battery to remain
charged by the solar panel).

8. Clean up your hulls and any broken pieces of clay pigeons, make sure the thrower is in a configuration not to interfere with closing the storage enclosure, then carefully close the storage box and secure the hasp and security lock.
Fredericksburg-Rappahannock Chapter of the Izaak Walton League
Copyright 2015, All rights reserved.